
Crafting organically shaped jewelry, one avocado stone at a time.
How it began…
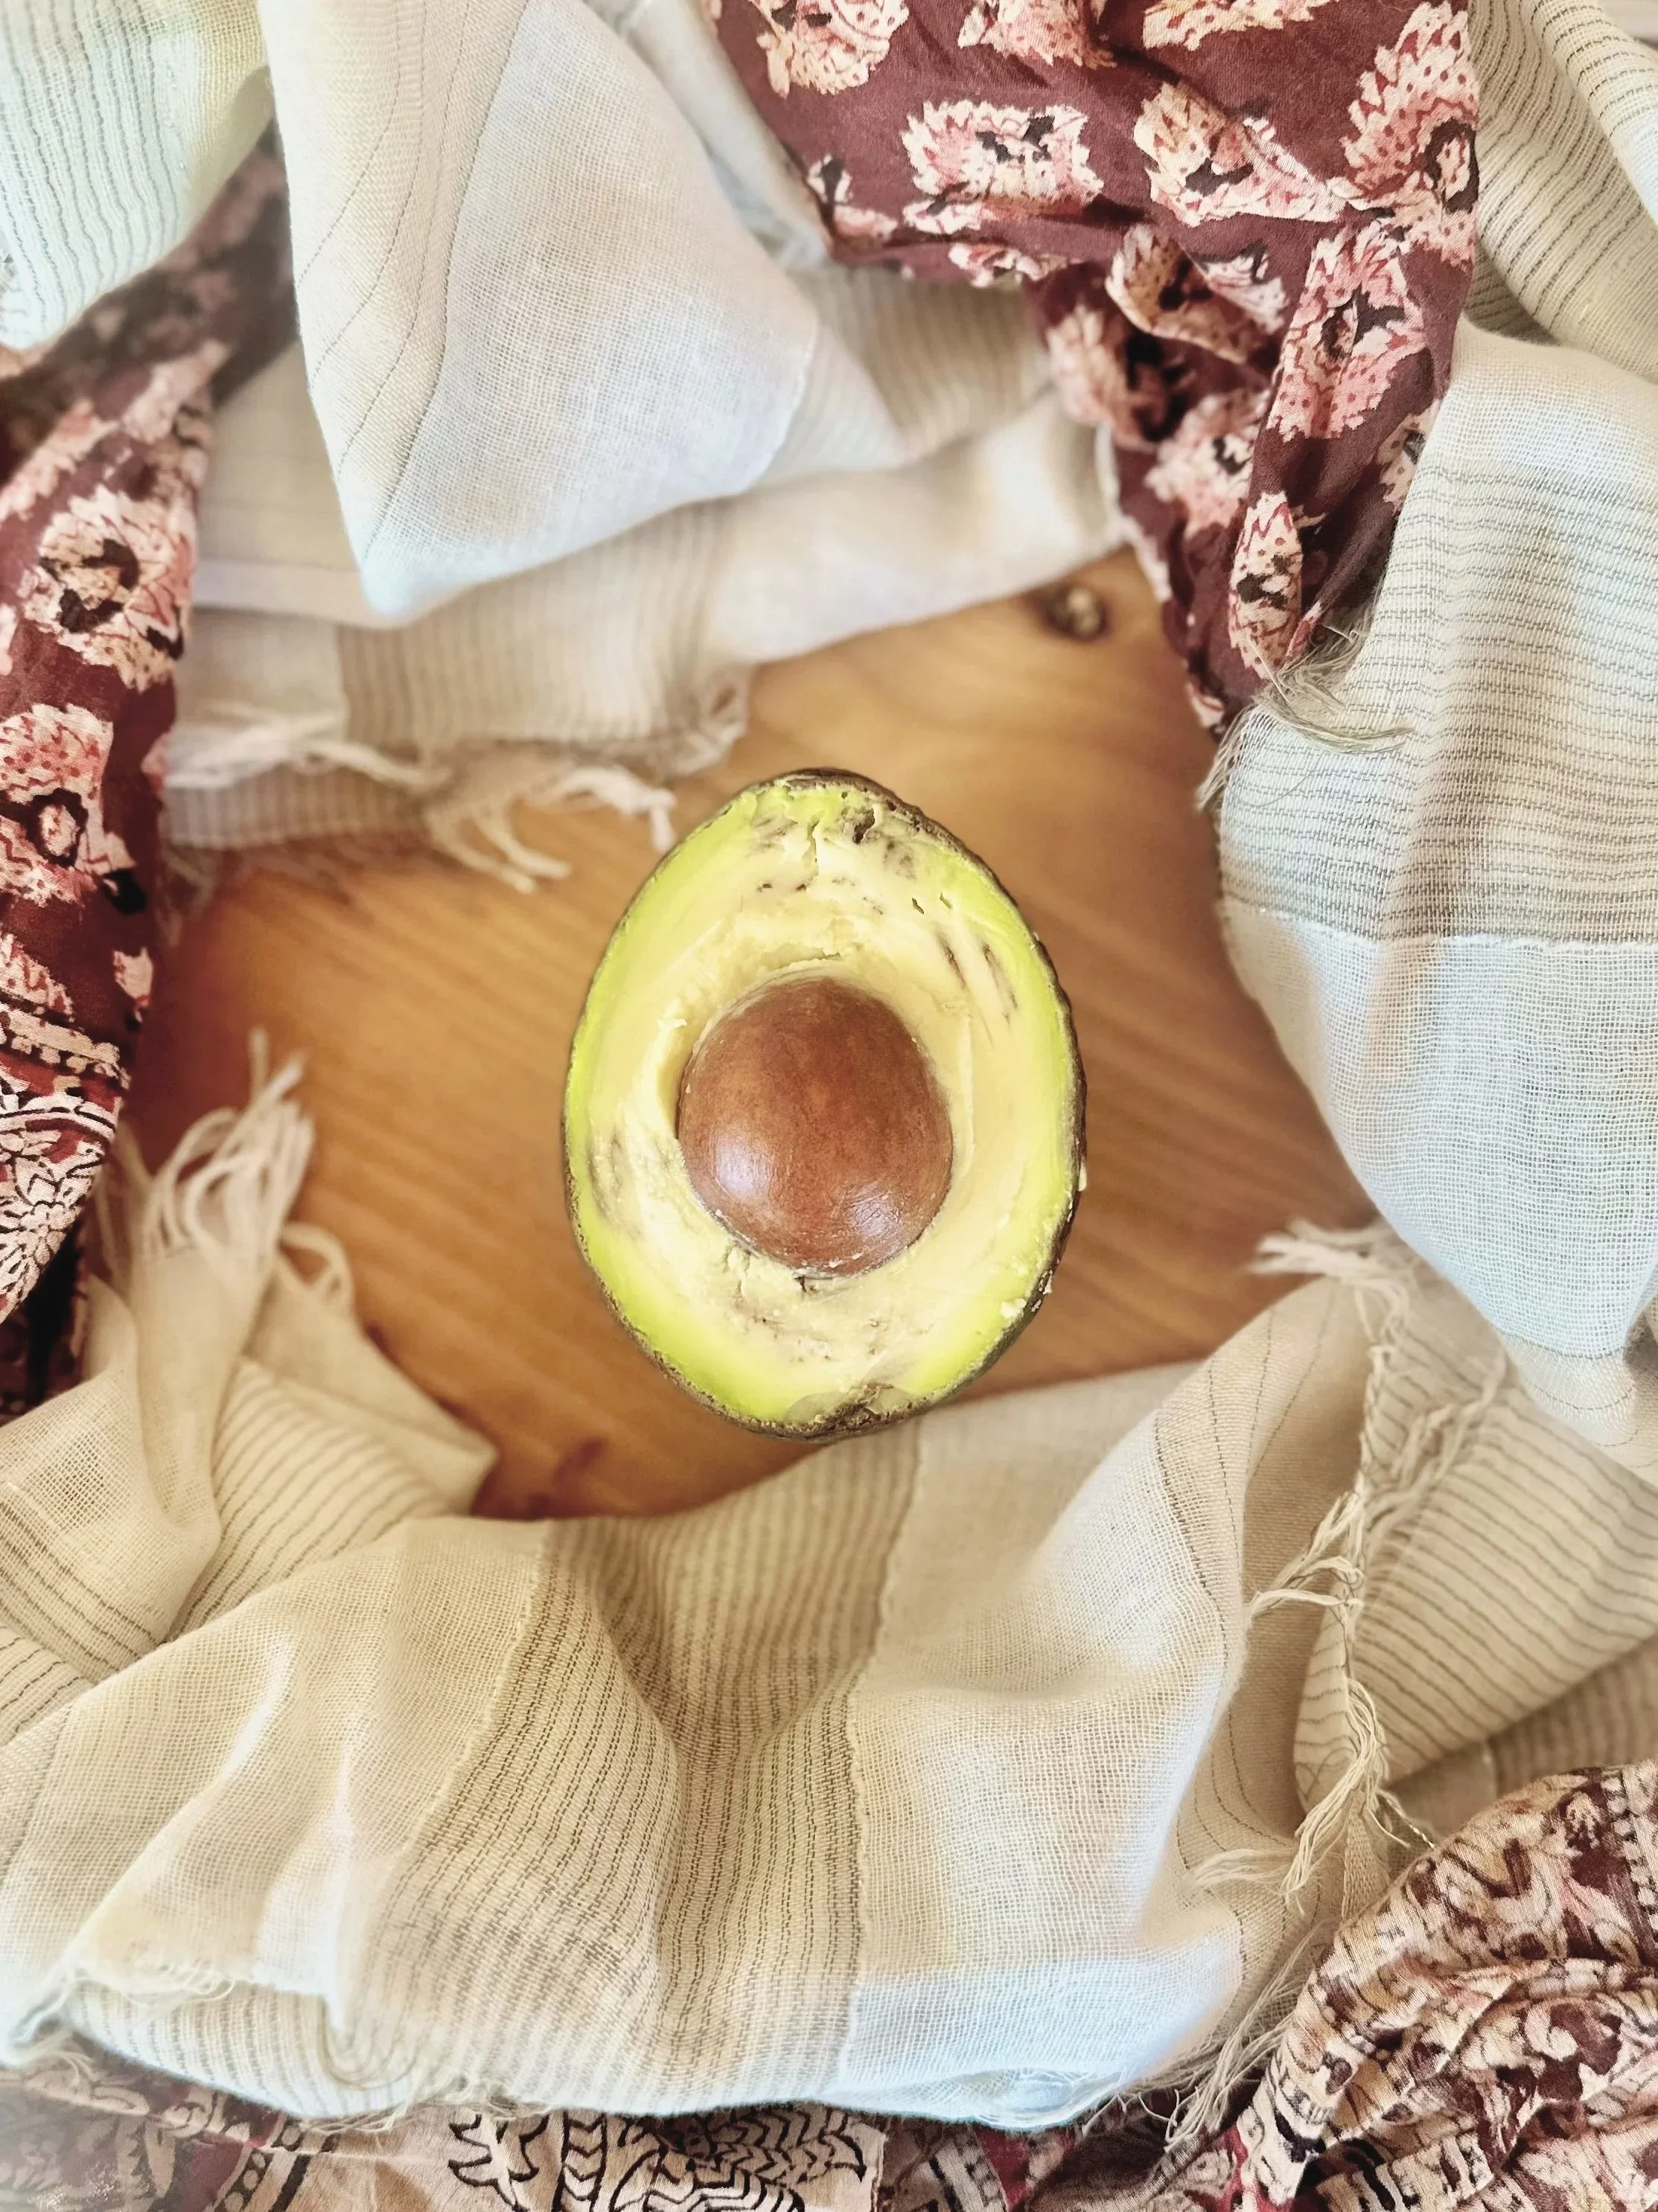
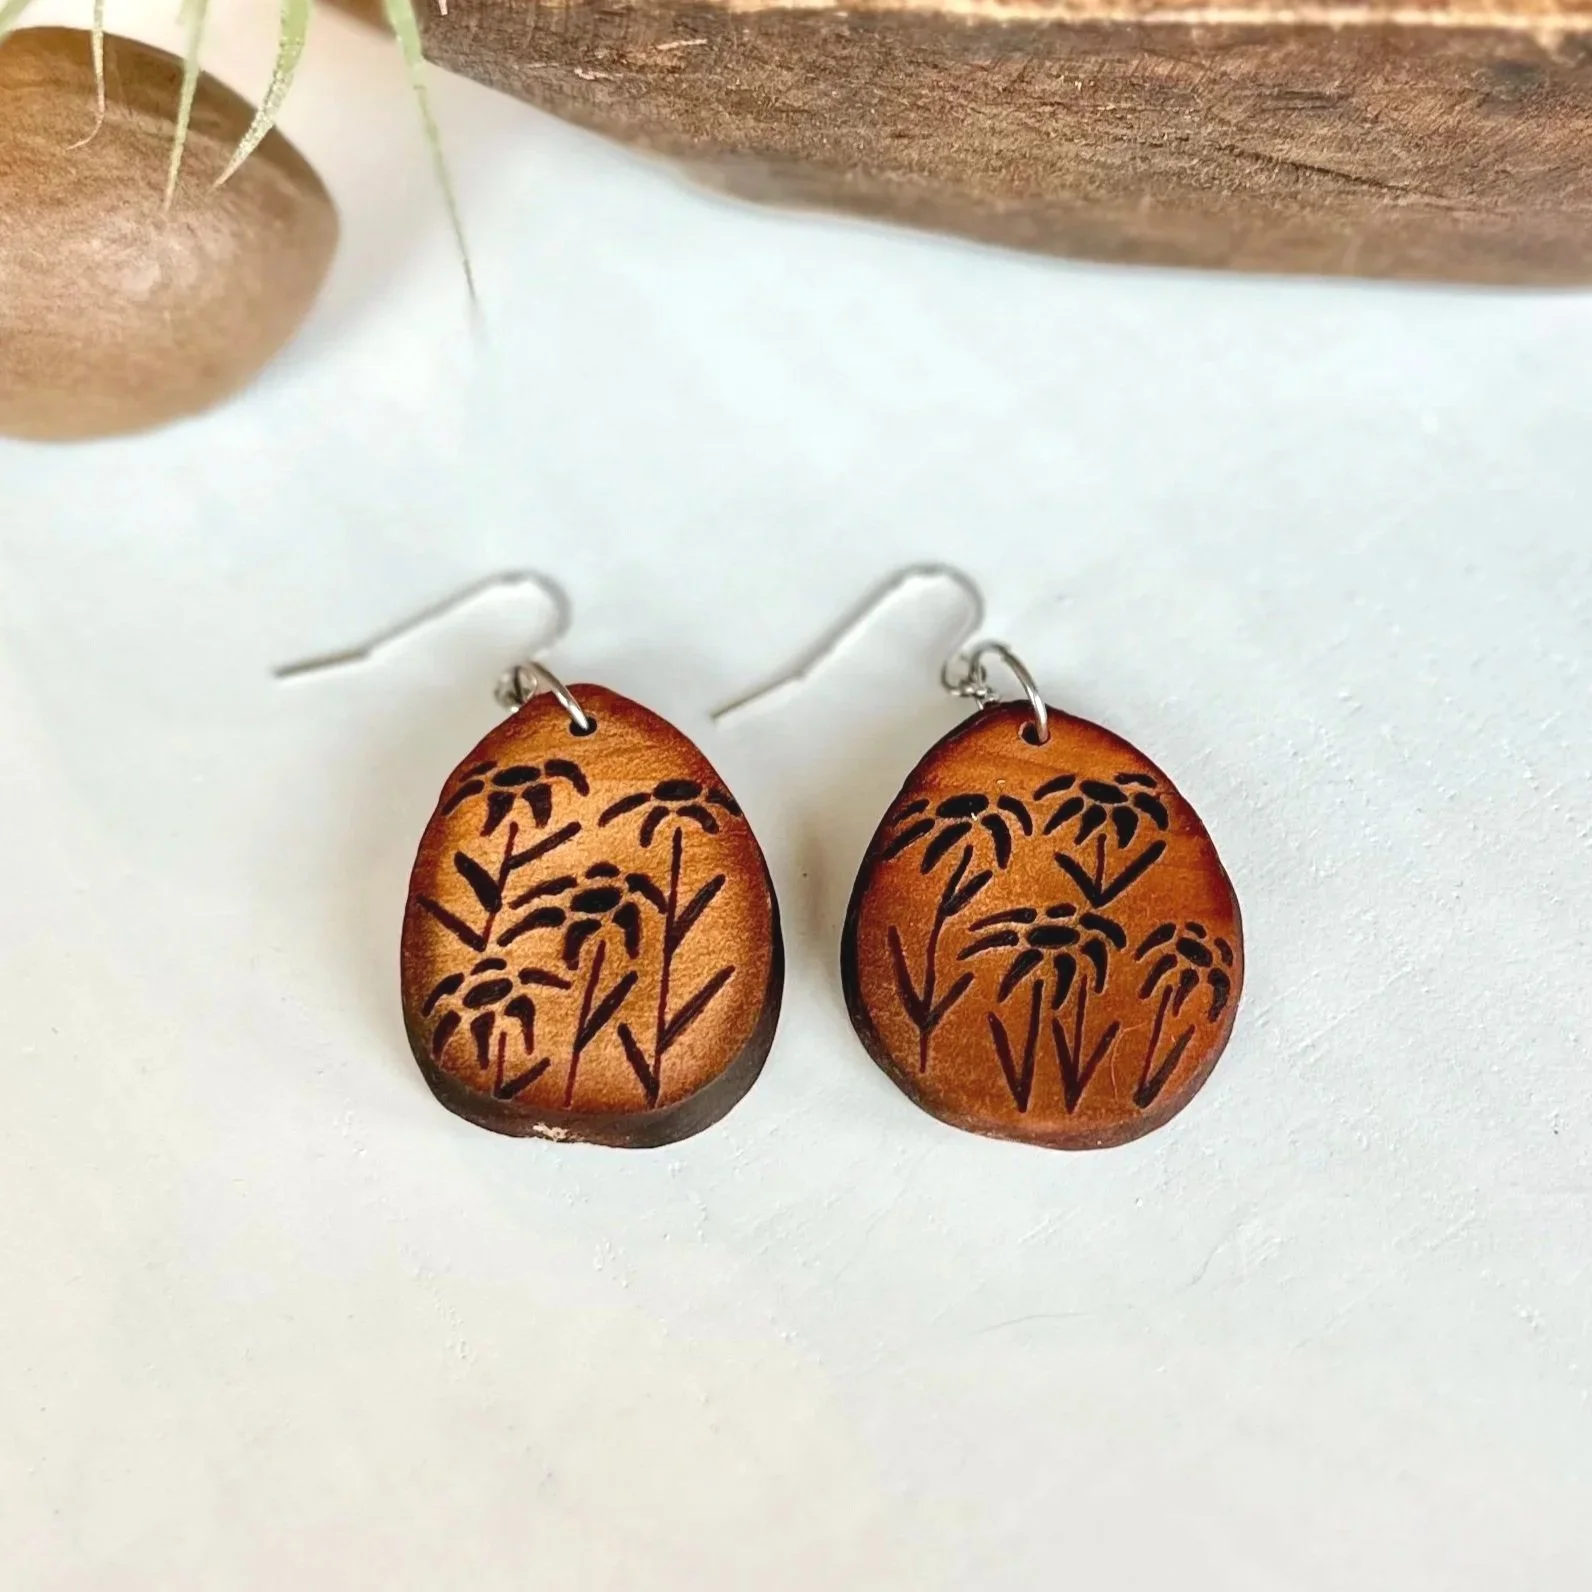
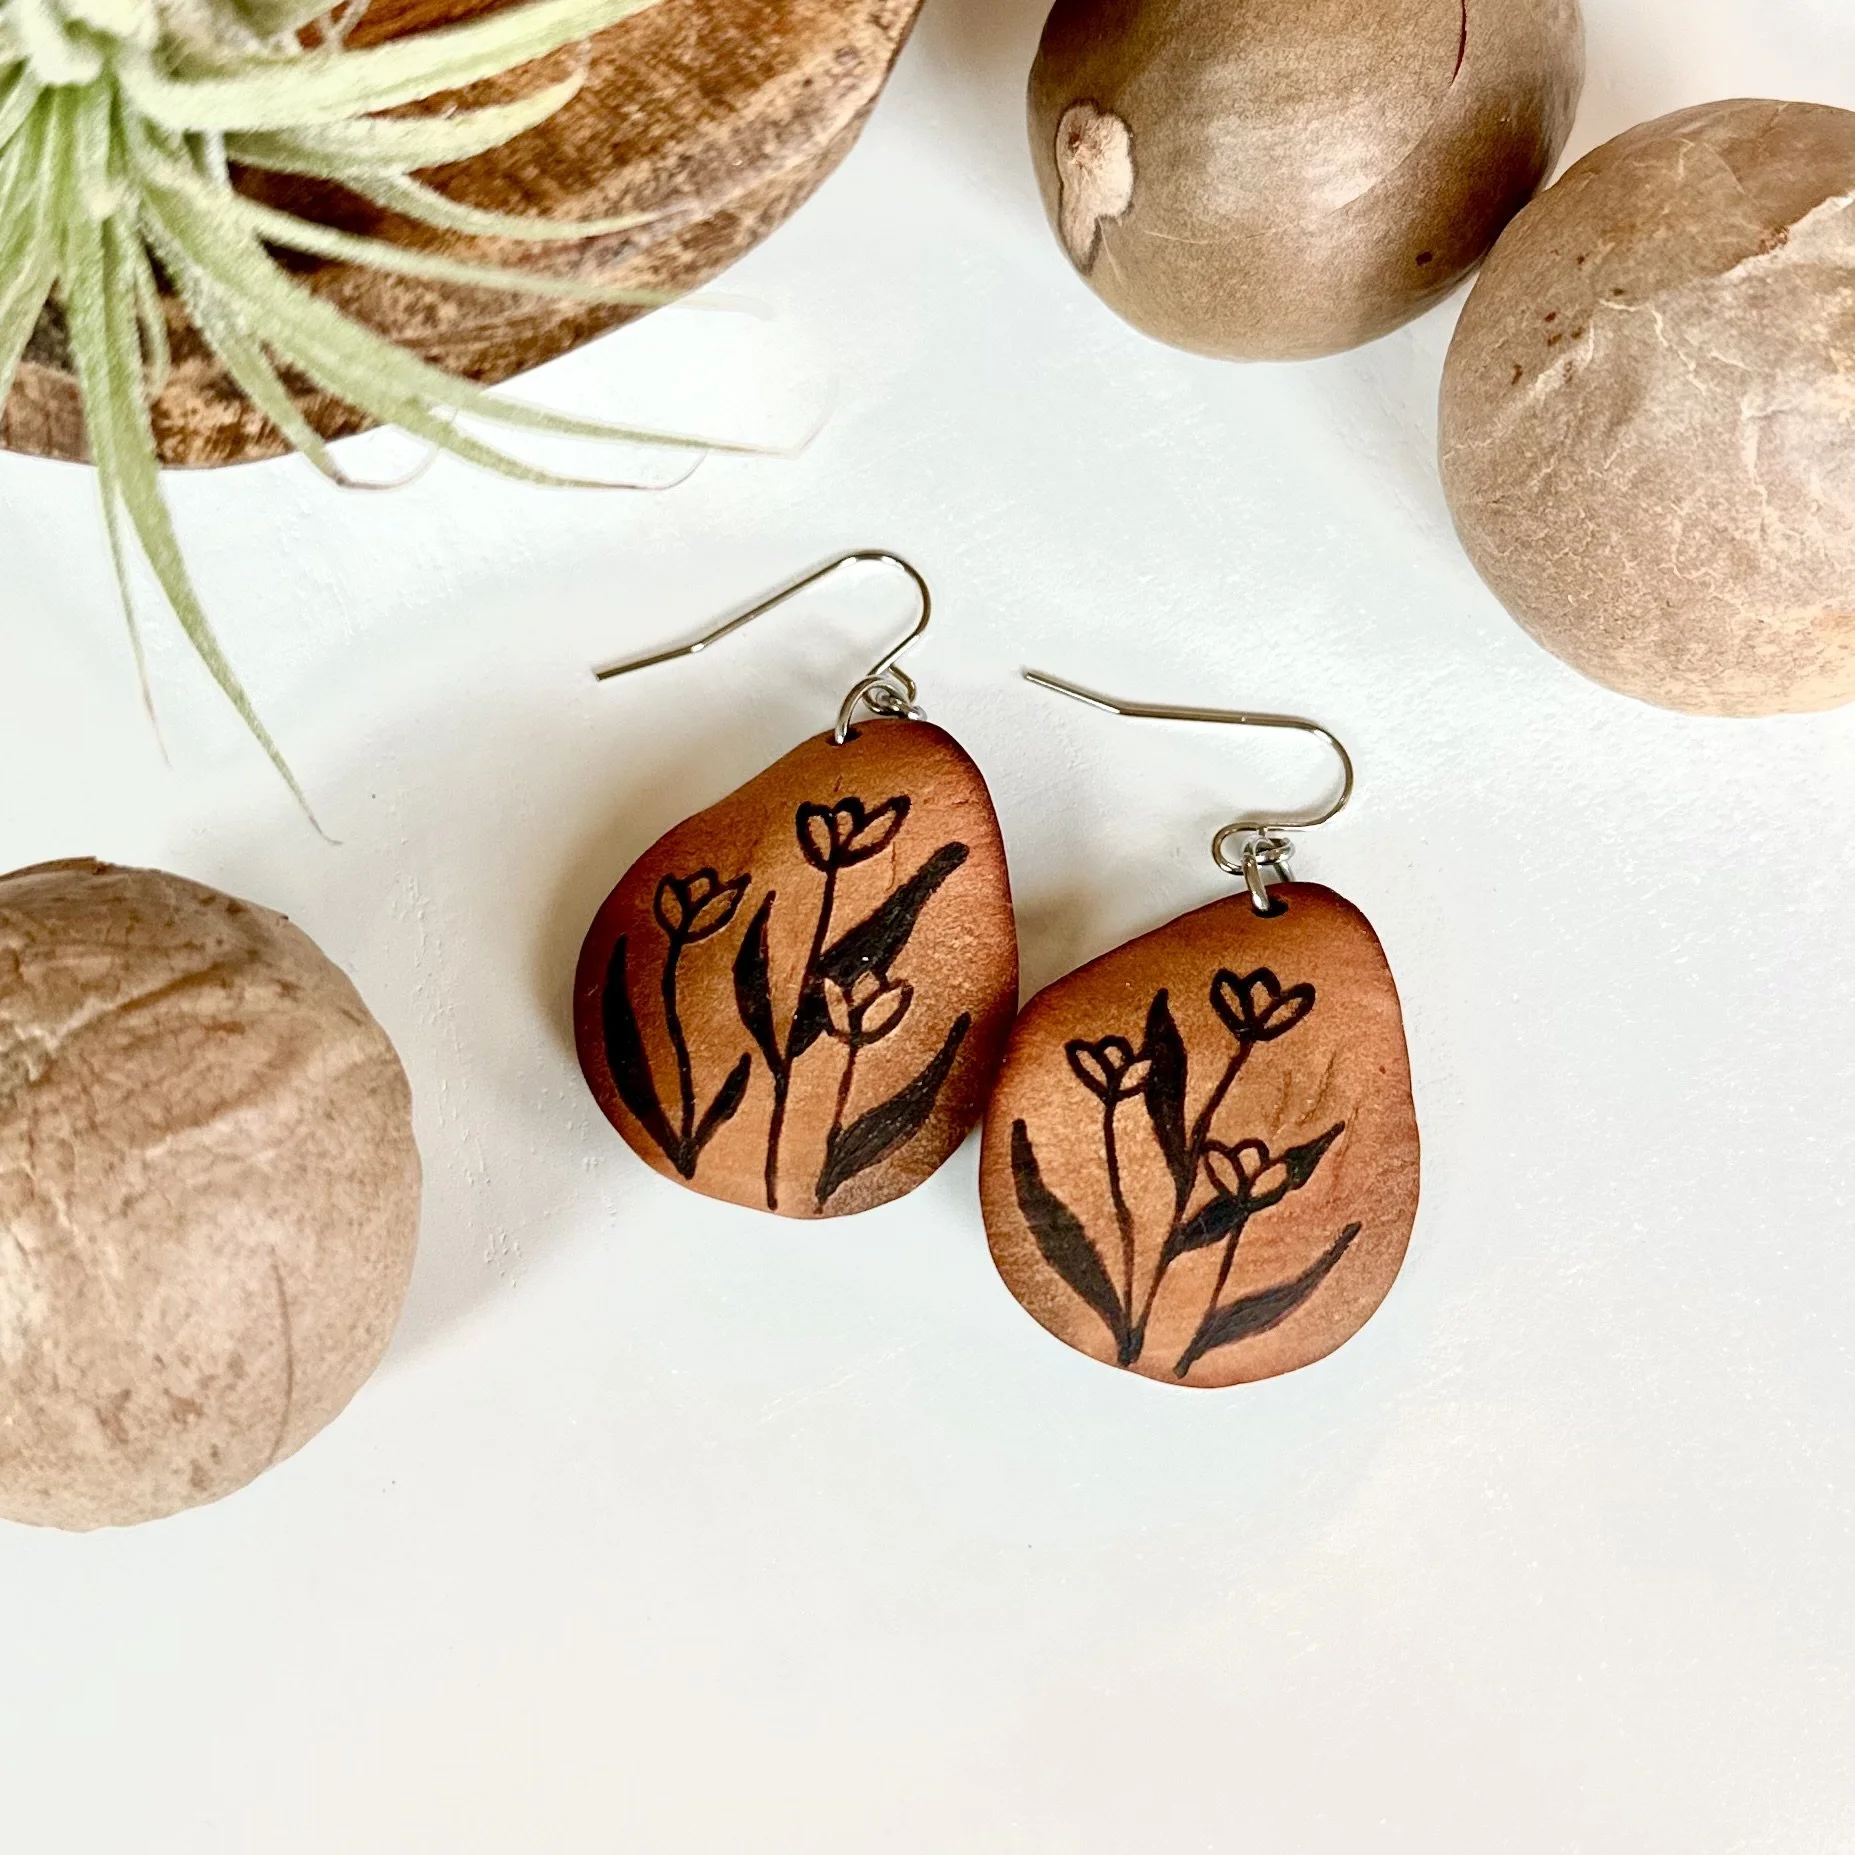
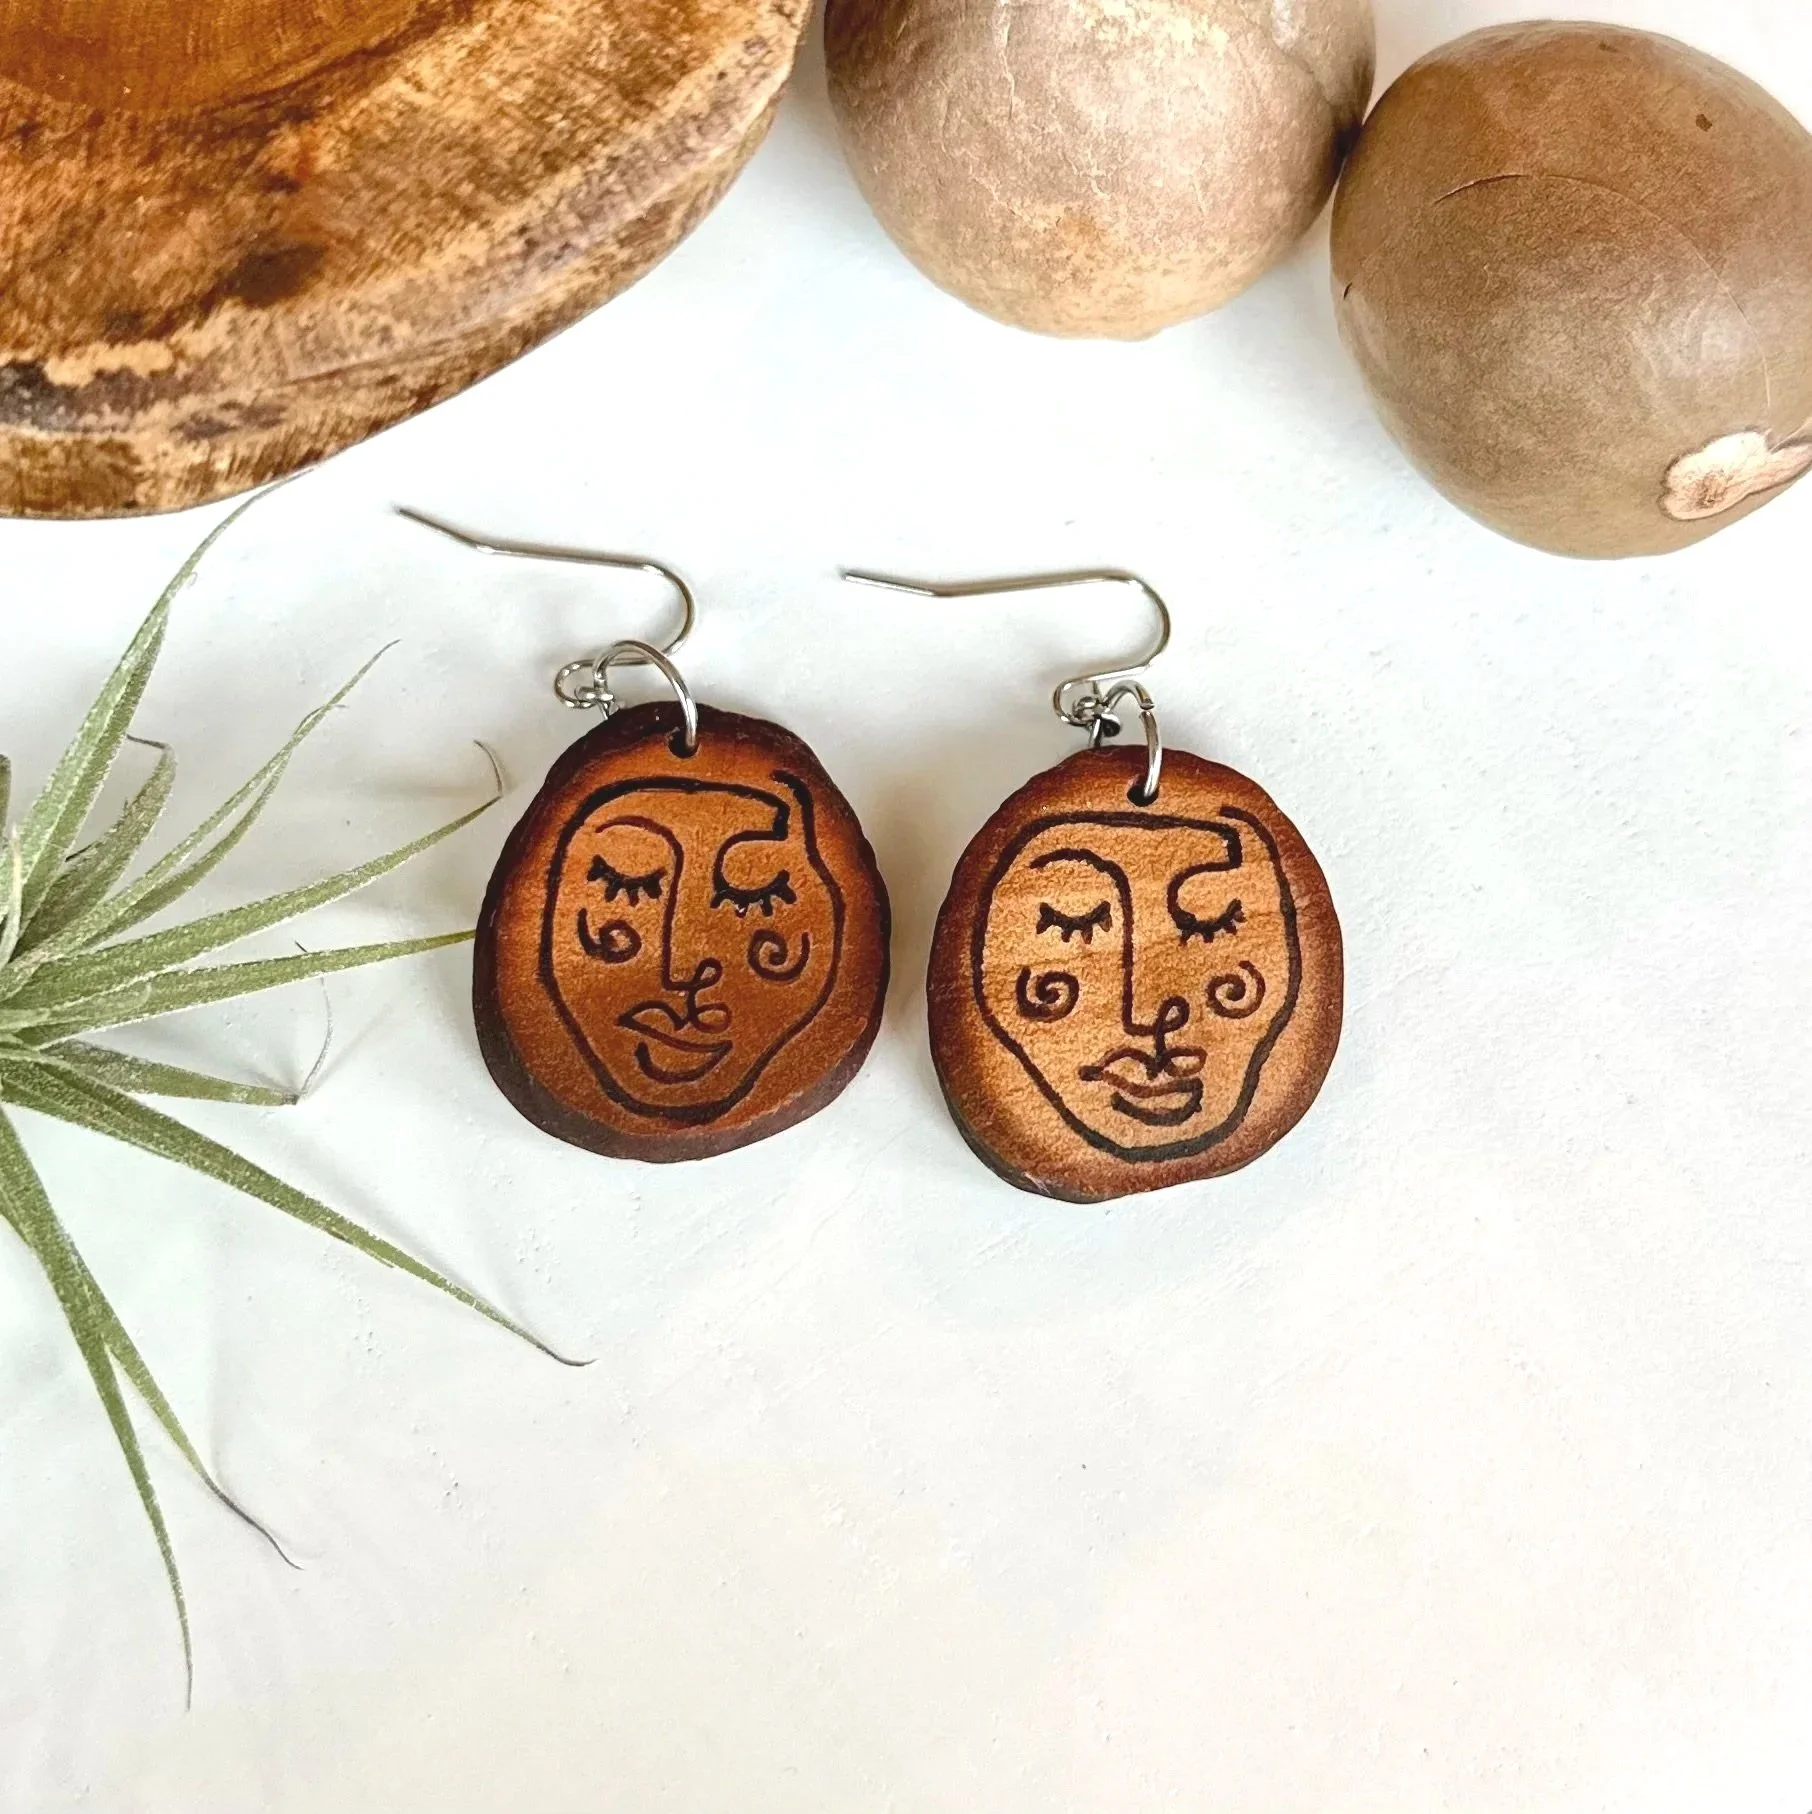
This jewelry collection really is made of avocado stones! It began with an idea. If I don’t have a green thumb to grow them from seed, what can I do instead of throwing them away? Then I stumbled upon a video where someone made buttons out of them. I’m no seamstress, so I had no use for buttons, BUT unique earthy jewelry is up my ally.
I then put two and two together; my mom gave me her pyrography kit because she no longer had use for it. I thought to myself, since they look and feel like real wood, what if I could “wood-burn” them just the same? And just my luck they do! I had lots of fun playing around with different free-handed designs.
The Avocado Stone collection is all made from free-handed designs too. This is why they are all unique and beautiful in their own right. From the shape and design of each cut, they truly are one-of-a-kind.
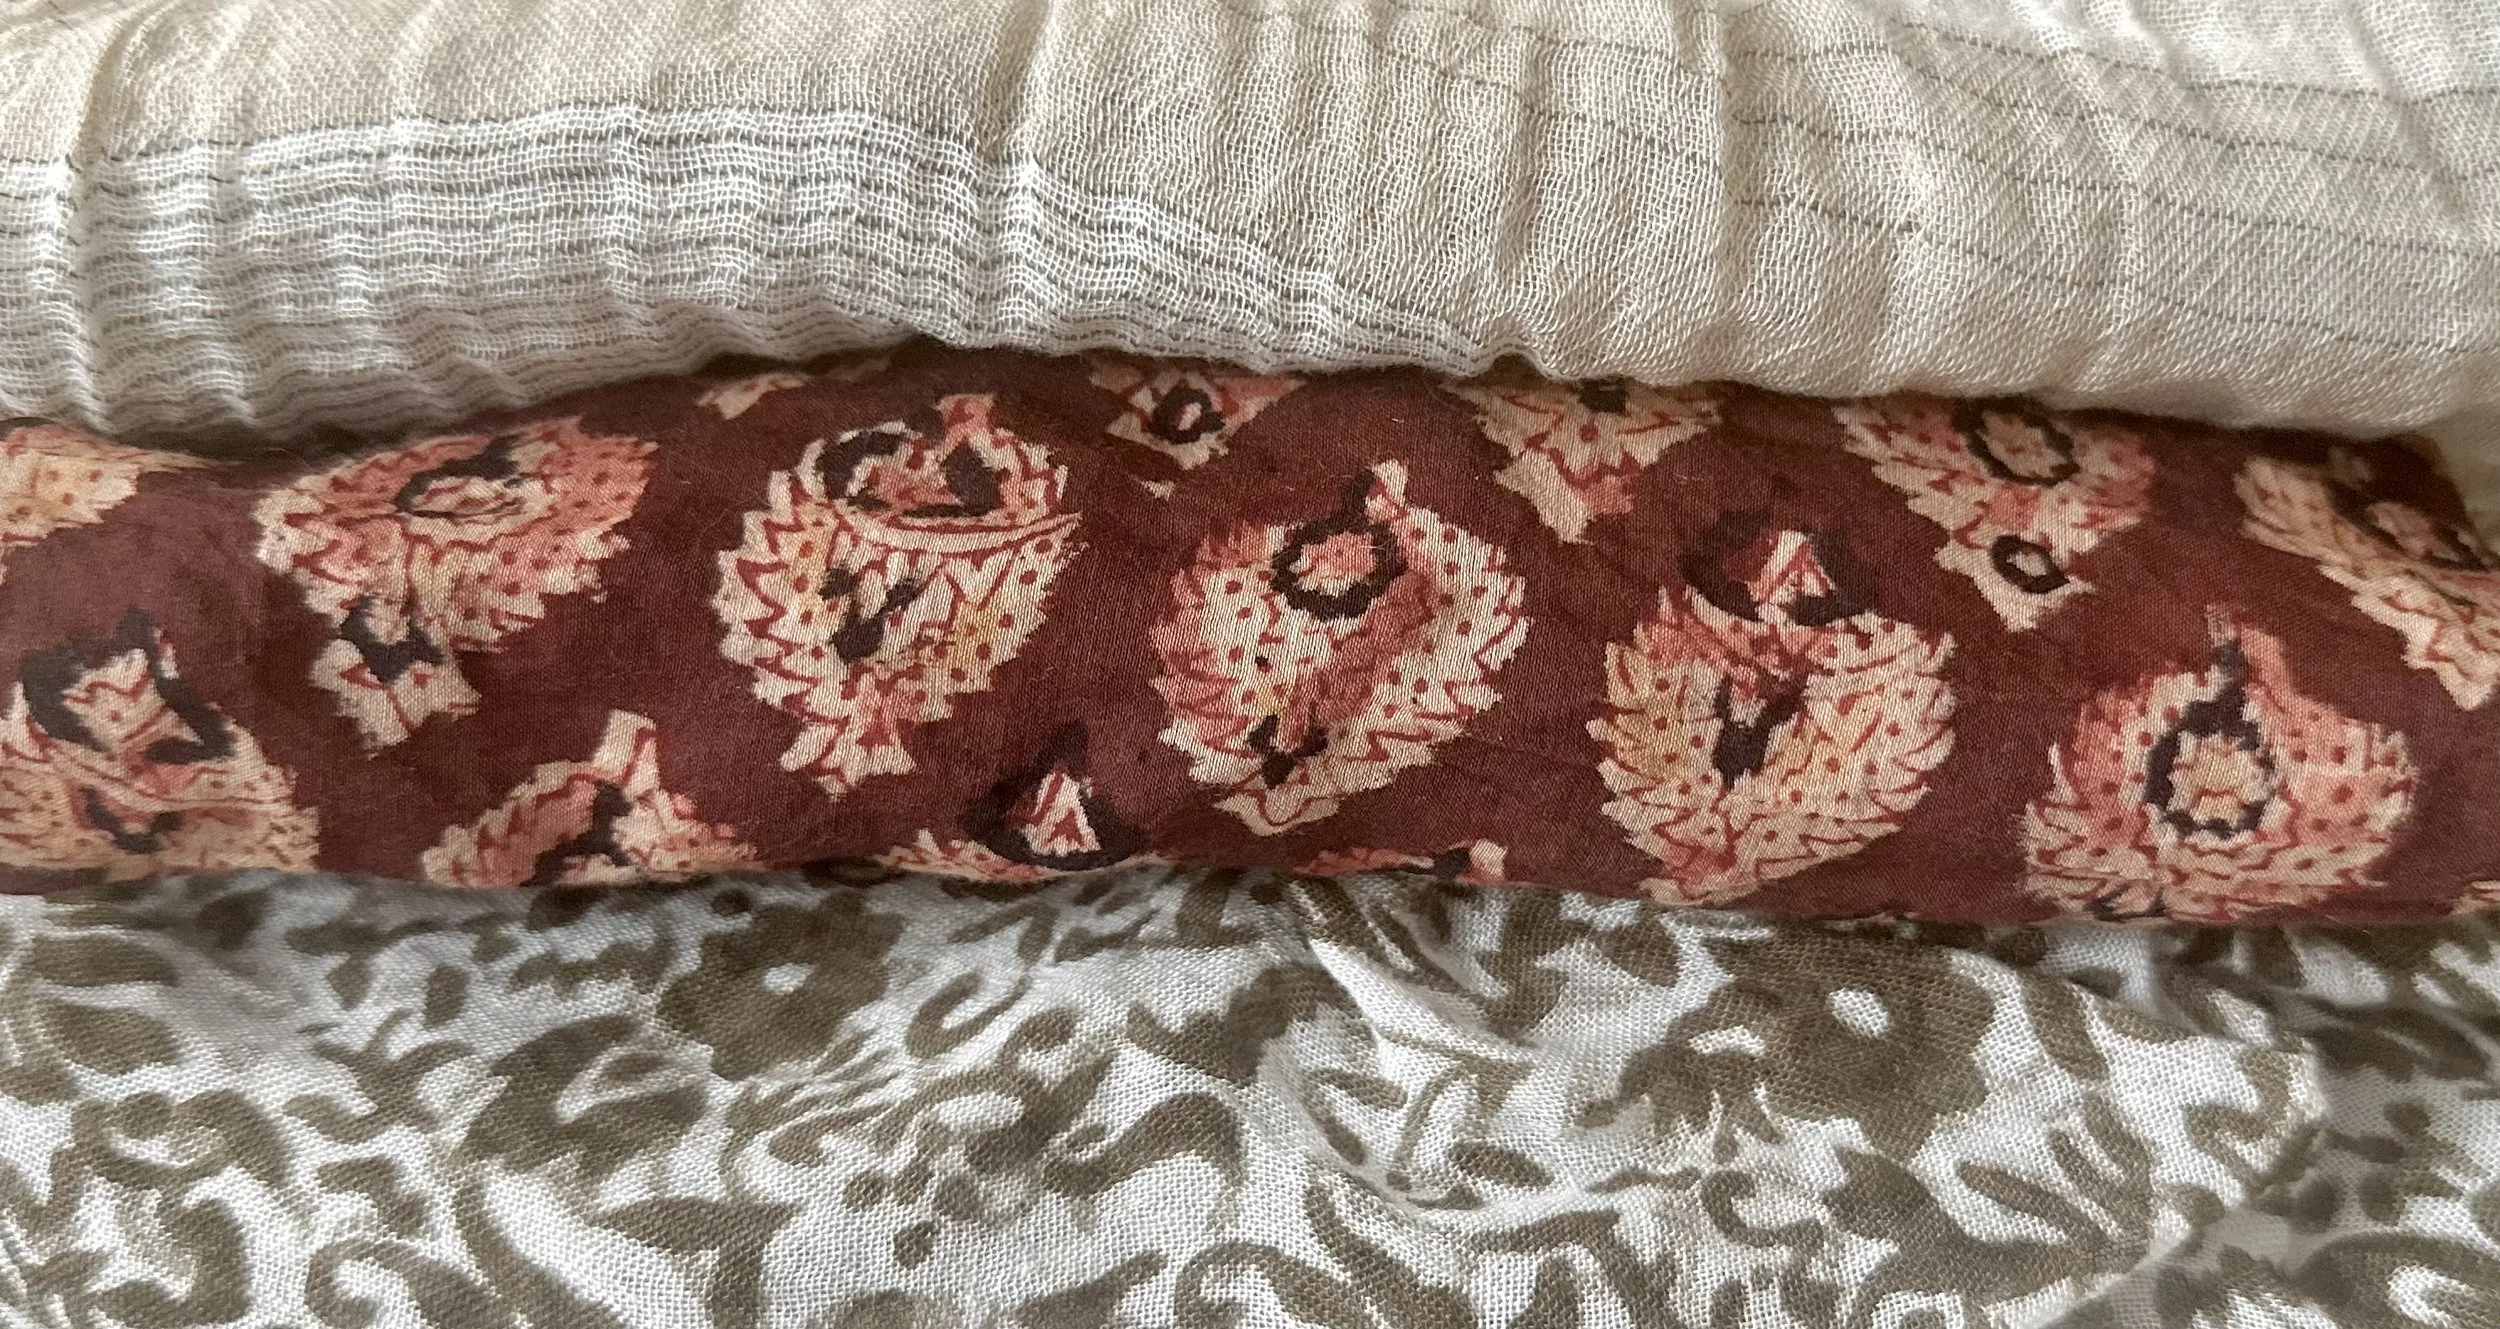
Upcycled Scarf Necklaces
Locally thrifted fabric is upcycled to create boho necklaces, perfect for adding an avocado stone pendant or glass cabochon charms.
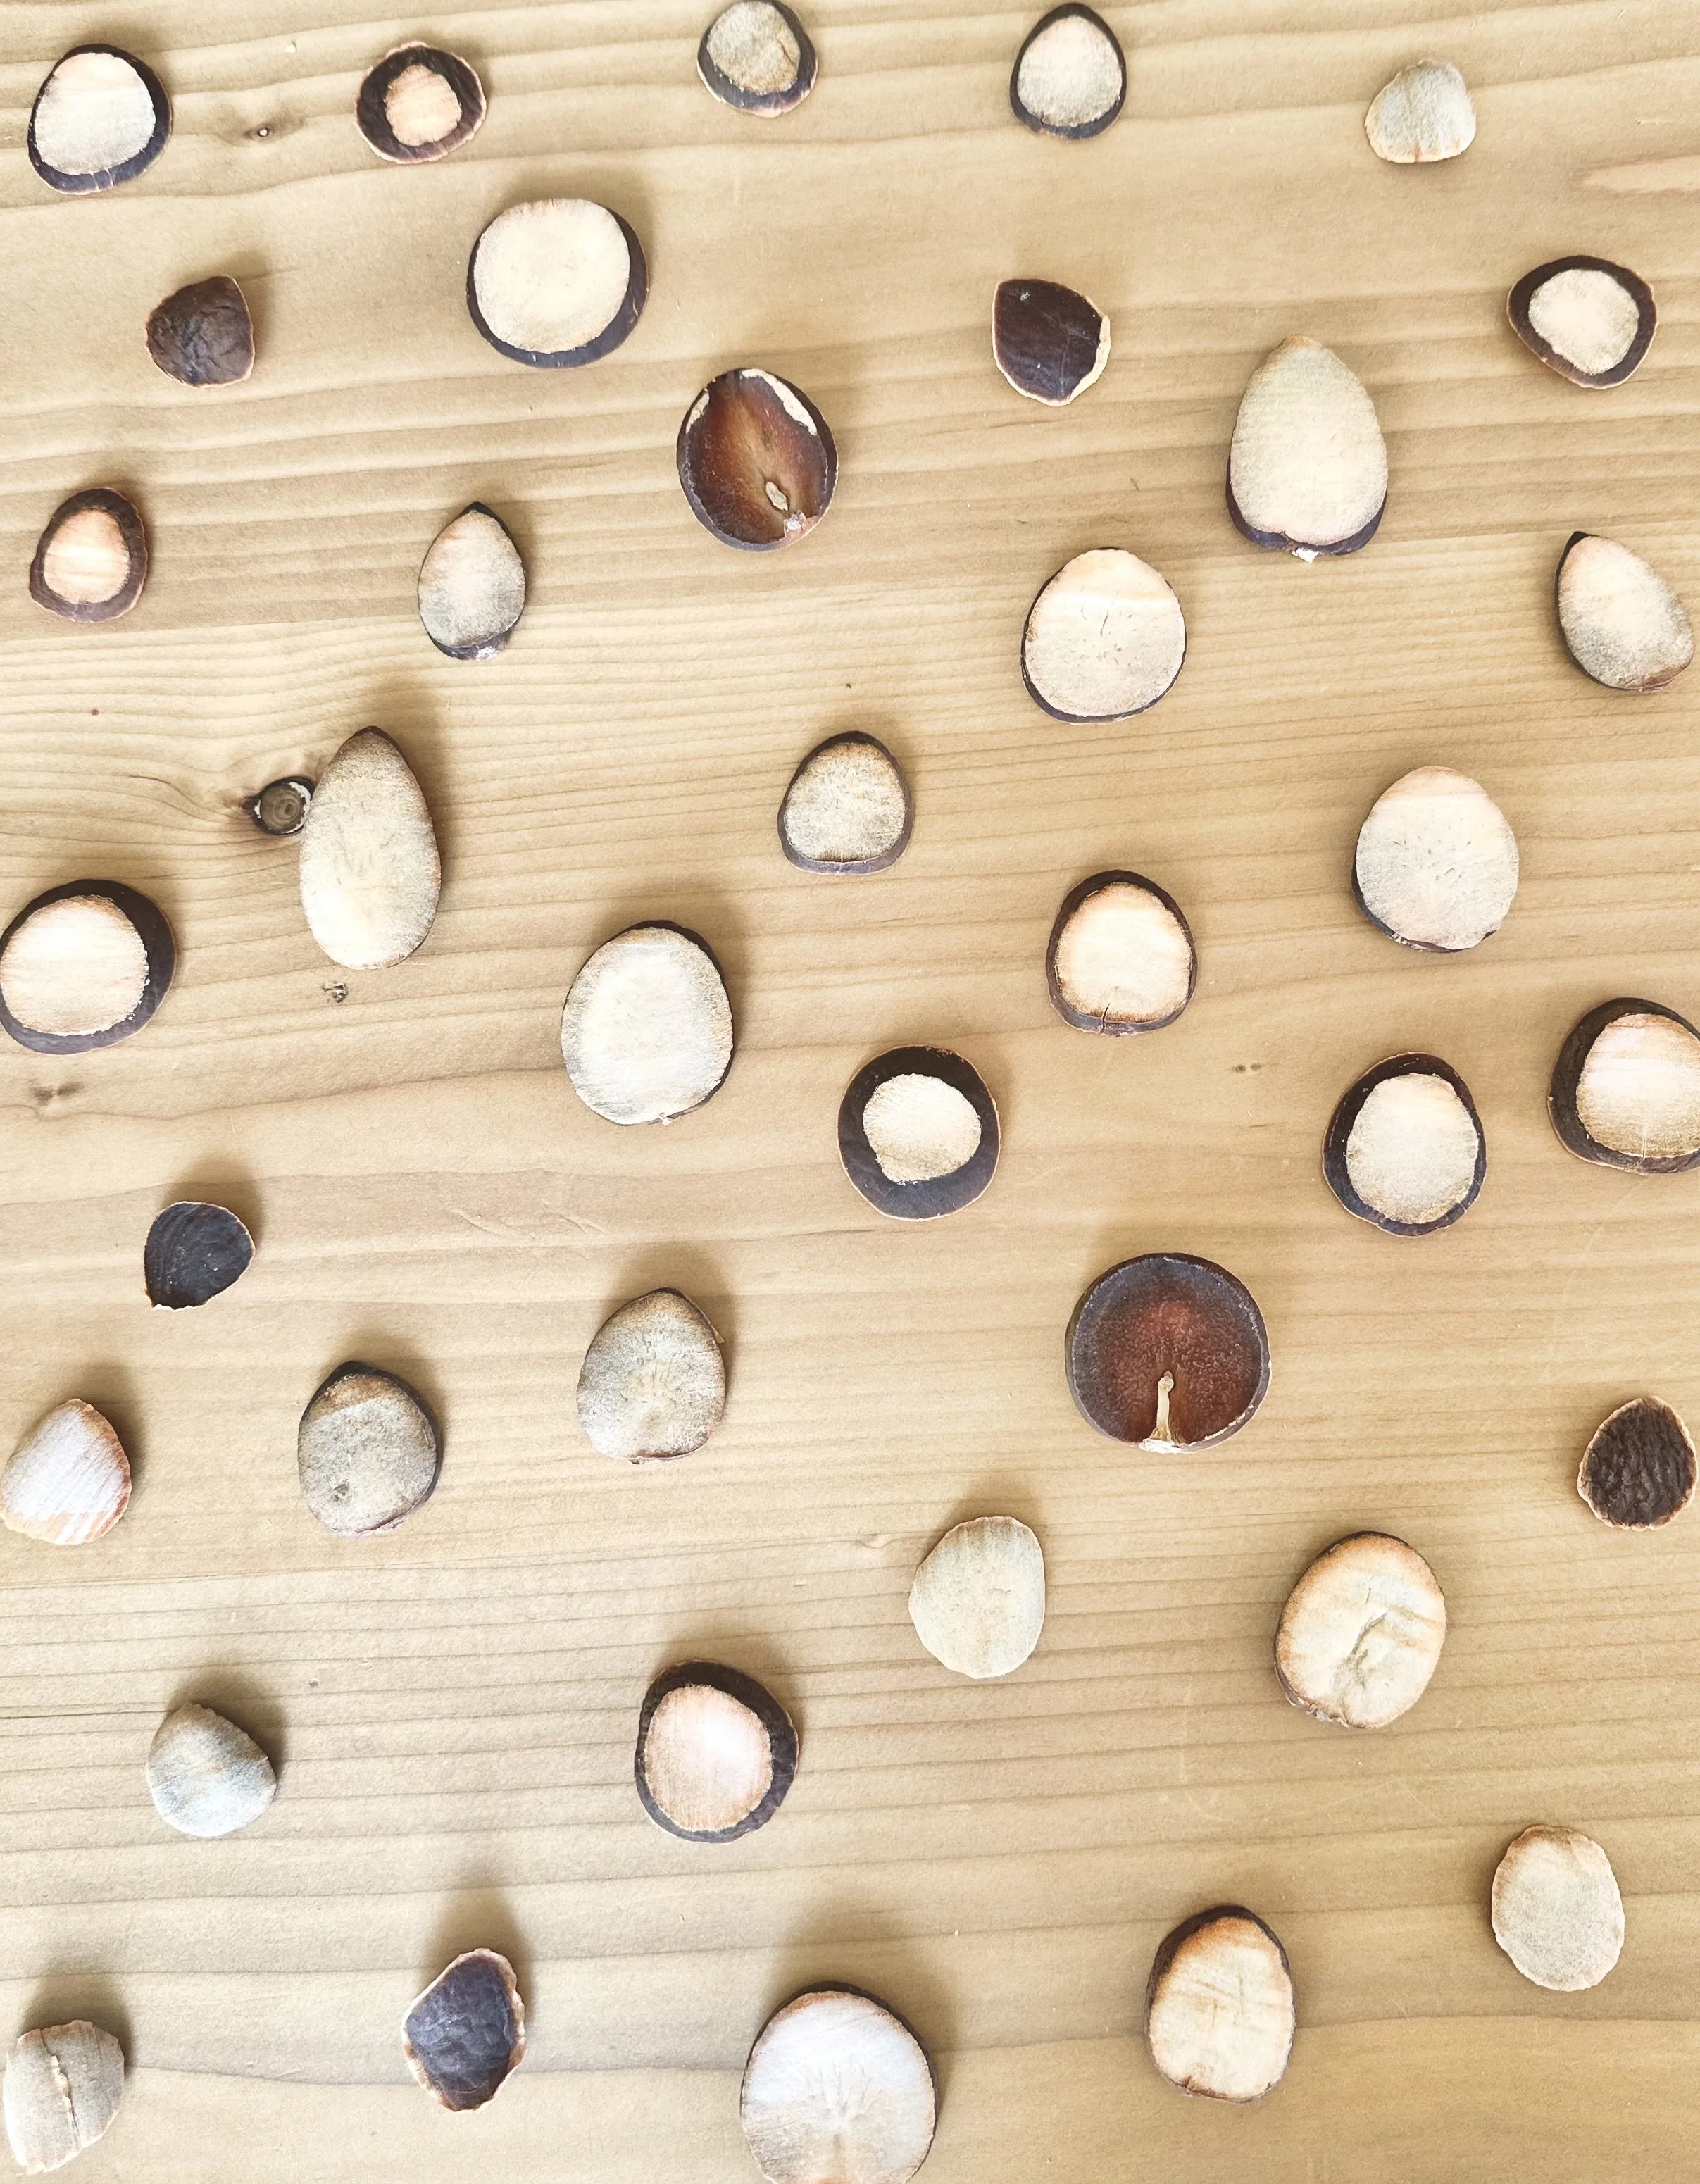
The Process
Once a fresh avocado is carefully cut open, the seed is immediately taken out, washed and dried. Of course I must make a smoothie with them, my everyday staple!
The outside of the stone must be dried completely until the outer layer starts to crack and can be peeled. This alone can take anywhere from 5-10 days. Patience certainly is a virtue.
They are dicot seeds, meaning they naturally have a seamline and can split in two. Once they outer layer is peeled, the seam reveals itself, and it’s never a perfect line. I carefully cut down the seam and may have to remove small slices that did not go down the imperfect seam. From here, I slice into each half a couple times to get the right thickness.
Once they are sliced individually, they must be set out to dry again. During this time, they first start to turn orange due to natural oxidation. This second drying process can take another 5-10 days depending on the humidity.
After the drying process is completed, I sand down every piece with a block to smooth out all the edges. and boy do my hands cramp but it’s so worth it!
I drill to make the holes for the earring hooks or pendant rings.
Time to use a pyrography for all of my own free-handed designs, inarguably the best part!
Seal with a mineral oil to naturally liven them up.
Finally, time to assemble the jewelry with stainless steel!
FAQs
How do you cut them? Do they require any special tools?No special tool! I use a regular kitchen knife; however, I must say over time it dulls my knives down. A sharpening tool comes in handy.
How did you come up with this idea? I found a video on making buttons out of avocado pits, but I wanted to take it a step further and “wood-burn” them and assemble jewelry for a natural, earthy, boho statement piece. It bloomed from there!
I want a pair of earrings, but why do they cost so much? Maybe I can just make them myself.Do it! I shared the entire process. As I shared, it takes a lot of time to create just one earring set and is of artisanal quality. If this is a project you’re interested in for yourself, I would love to see your creations. I only ask that you do not copy my designs, but to come up with your own unique “wood-burned” art. Thank you for your understanding.